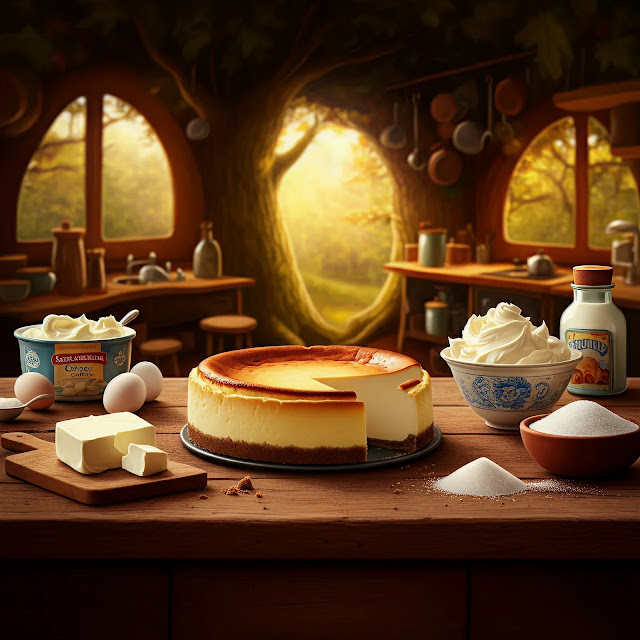
Cheesecake is a timeless dessert, and when paired with the crunchy, buttery goodness of Keebler crusts, it becomes truly irresistible.
Whether you're a seasoned baker or just starting your dessert-making journey, this recipe will guide you step-by-step to creating a luscious cheesecake that’s rich, creamy, and an instant crowd-pleaser.
In this article, I’ll share a simple but decadent recipe for a cheesecake using a Keebler crust, offer tips to perfect your bake, and suggest variations to customize it. By the end, you’ll be ready to whip up a treat that’ll have everyone asking for seconds!
Why Start with Keebler Crusts?
Keebler's ready-made graham cracker crust is a baker’s lifesaver. Not only does it save time, but it also provides the perfect sweet and crumbly foundation for cheesecakes. The buttery graham cracker crust complements the tangy cream cheese filling exceptionally well, creating a balanced and indulgent dessert. Plus, the crust is perfectly pressed and pre-baked, meaning less prep and more time to focus on creating an unforgettable filling.
Keebler Cheesecake Recipe
Ingredients
To get started, gather the following ingredients:
For the Filling:
- 2 (8 oz) packages of cream cheese (softened)
- 1/2 cup granulated sugar
- 2 large eggs
- 1 teaspoon pure vanilla extract
- 1/2 cup sour cream
For the Crust:
- 1 Keebler 9-inch graham cracker crust (ready-made)
Optional Toppings:
- Fresh strawberries or raspberries
- Chocolate ganache
- Caramel drizzle
- Whipped cream
Instructions
Step 1: Preheat Your Oven
Preheat your oven to 325°F (162°C). A lower temperature ensures the cheesecake bakes evenly without cracking.
Step 2: Prepare the Filling
- Using a stand mixer or hand mixer, beat the cream cheese and sugar in a large bowl until smooth and creamy (about 2-3 minutes).
- Add the eggs, one at a time, mixing well after each addition.
- Stir in the vanilla extract and sour cream until just combined. Be careful not to overmix, as this can introduce air bubbles that may affect the texture of your cheesecake.
Step 3: Assemble the Cheesecake
- Place your Keebler graham cracker crust on a flat baking sheet for stability.
- Pour the cream cheese mixture into the crust, spreading it evenly with a spatula.
Step 4: Bake the Cheesecake
- Bake in the preheated oven for 35-40 minutes, or until the edges are set but the center still jiggles slightly when shaken.
- Turn off the oven and leave the cheesecake inside to cool slowly for 1 hour. This helps prevent cracks from forming.
Step 5: Chill the Cheesecake
Once completely cooled, refrigerate the cheesecake for at least 4 hours (preferably overnight). This allows the flavors to develop and the texture to set properly.
Step 6: Add Toppings
Before serving, top your cheesecake with your favorite toppings. Fresh fruit, a drizzle of chocolate, or a dollop of whipped cream all work beautifully.
Serving Tip
For clean slices, use a sharp knife and clean it with a damp cloth between each cut.
Tips for a Perfect Cheesecake
- Room Temperature Ingredients: Make sure your cream cheese, eggs, and sour cream are at room temperature before mixing. This ensures a smooth and lump-free filling.
- Avoid Overmixing: Gently mix the ingredients to avoid incorporating too much air, which can lead to cracks.
- Water Bath Alternative: While this recipe doesn’t require a traditional water bath, placing a shallow pan of warm water on the rack below your cheesecake while baking can help maintain moisture in the oven.
- Don’t Rush Cooling: Allowing the cheesecake to cool gradually in the oven and then in the fridge prevents sudden temperature changes, which can lead to cracks.
Variations to Try
Looking to switch things up? Here are some fun tweaks to the traditional recipe:
- Lemon Cheesecake: Add 2 teaspoons of lemon zest and 1 tablespoon of fresh lemon juice to the filling for a zesty twist.
- Chocolate Cheesecake: Mix 1/4 cup of cocoa powder into the filling and top with chocolate ganache for a double-chocolaty experience.
- No-Bake Cheesecake: Skip the oven altogether! Use gelatin to set your filling and refrigerate for at least 6 hours.
- Peanut Butter Cheesecake: Swirl 1/4 cup of creamy peanut butter into the filling before baking for a nutty flavor.
Why Bakers Love Keebler Crusts
Time-saving, reliable, and delicious, Keebler crusts are a go-to for cheesecakes. Their consistent quality ensures every bite is as good as the last. Plus, their versatility makes them suitable for a variety of desserts, from no-bake pies to tarts.
Wrap It Up with Keebler
Creating a cheesecake with a Keebler crust is as easy as it is rewarding. Each velvety bite paired with the buttery crunch of the graham cracker crust is sure to impress your taste buds and anyone you share it with.
Are you ready to bake your perfect cheesecake? Follow this recipe, and don’t forget to share your photos and creations using #KeeblerCheesecake. Happy baking!


إرسال تعليق